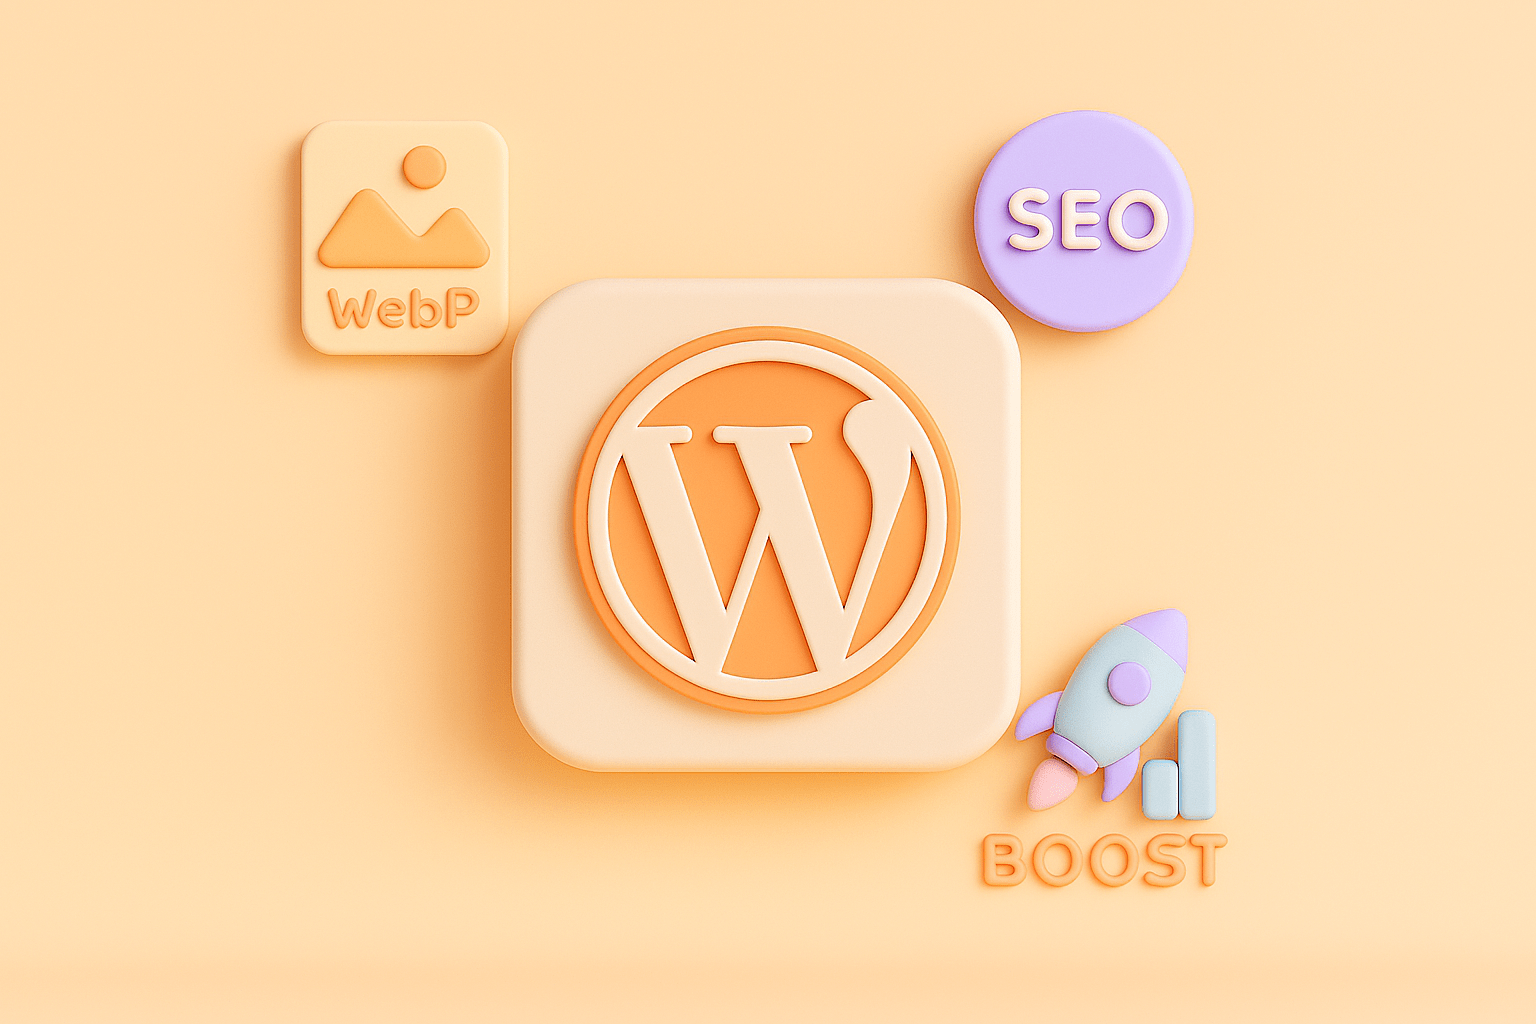
WebP and Next-Gen Image Formats in WordPress: A Step-by-Step Integration Guide
In today’s fast-paced digital world, website performance is critical—not just for user experience but also for search engine rankings. One of the most effective ways to boost your WordPress website’s loading speed is by optimizing your images. Traditional formats like JPEG and PNG have served us well, but next-generation image formats such as WebP have revolutionized how we approach web images. These formats offer superior compression, resulting in faster load times without compromising quality.
For WordPress users and developers, integrating WebP and other next-gen formats can seem daunting at first. However, with the right tools and best practices, you can seamlessly implement these formats to enhance your site’s performance and SEO. This guide will walk you through the benefits of WebP and next-gen formats, and provide a detailed, step-by-step tutorial on how to integrate them into your WordPress site effectively. For a broader understanding of image optimization techniques, consider reading our Ultimate Guide to Optimizing WordPress Images for Faster Load Times and Better SEO.
Why WebP and Next-Gen Image Formats Matter
Before diving into the integration process, it’s essential to understand why WebP and other next-gen formats are becoming industry standards.
Superior Compression and Quality
WebP, developed by Google, offers both lossy and lossless compression. It reduces image file sizes by up to 30-50% compared to JPEG and PNG without significant quality loss. This reduction means faster page loads, reduced bandwidth usage, and an improved user experience—especially important for mobile users on slower connections.
SEO Benefits
Google’s Core Web Vitals emphasize site speed and user experience as ranking factors. Smaller image sizes contribute directly to faster page loading times, which can positively impact your search rankings. Leveraging next-gen formats signals to search engines that your website is optimized for modern web standards. For more on Core Web Vitals, see Google Web Vitals. To further enhance your SEO strategy, explore our post on Enhancing SEO on WordPress: Top Plugins and Strategies to Boost Your Rankings.
Browser Support Has Improved
Initially, limited browser support hindered widespread adoption. Today, all major browsers, including Chrome, Firefox, Edge, and Safari, support WebP. While some older browsers still lack support, fallback mechanisms can easily address this issue.
Preparing Your WordPress Site for WebP Integration
Before you start converting and serving WebP images, it’s vital to back up your site and ensure your server supports the necessary technologies.
Step 1: Create a Full Backup
Changes involving media files and formats can be irreversible if done improperly. Use plugins like UpdraftPlus or your hosting provider’s backup tools to create a full backup of your site and database.
Step 2: Verify Server Compatibility
WebP requires support at the server level, particularly if you want to serve WebP images directly rather than relying solely on client-side solutions.
- Apache Servers: Ensure the
.htaccessfile is configured to serve WebP images and that themod_rewriteandmod_headersmodules are enabled. - NGINX Servers: You’ll need to add specific rewrite rules and headers in your NGINX configuration to serve WebP images correctly.
If you are on shared hosting, consult your hosting provider to confirm support or request assistance.
Step-by-Step Plugin-Based Integration of WebP in WordPress
For most WordPress users, plugins provide the easiest and most effective method to integrate WebP without manual server tweaks.
Step 1: Choose the Right Plugin
There are several plugins available, but some stand out for ease of use, features, and reliability:
- Imagify: Offers automatic image optimization, WebP conversion, and CDN support.
- ShortPixel Image Optimizer: Converts images to WebP and serves them with fallback options.
- Smush Pro: Provides image compression and WebP conversion with lazy loading.
- EWWW Image Optimizer: Converts images to WebP and offers bulk optimization tools.
- WebP Express: Focuses on WebP conversion and serving with fallback mechanisms.
For this tutorial, we’ll focus on WebP Express because of its flexibility and free tier.
Step 2: Install and Activate WebP Express
- Navigate to your WordPress dashboard.
- Go to Plugins > Add New.
- Search for “WebP Express.”
- Click Install Now and then Activate.
Step 3: Configure WebP Express Settings
- Go to Settings > WebP Express.
- Under the General Settings tab, ensure Enable WebP Express is checked.
- Select the method for creating WebP images. The plugin supports several conversion methods, including:
- GD (PHP image library) – widely compatible but slower.
- cwebp (Google’s tool) – faster, requires server support.
- ImageMagick – high quality, requires ImageMagick installed on the server.
If you’re unsure, start with GD and then test other methods if you have server access.
Step 4: Set Up Serving Rules
WebP Express serves WebP images automatically if the browser supports them, falling back to the original image if not.
- Under Behavior Settings, select Use .htaccess for Apache or Use NGINX config depending on your server.
- The plugin will generate the necessary rewrite rules.
- Save changes.
Step 5: Bulk Convert Existing Images
- Navigate to Tools > WebP Express.
- Use the Bulk Convert tool to convert your existing images to WebP.
- For new uploads, WebP Express converts images automatically.
Step 6: Test Your Site
- Visit your website using a browser that supports WebP (Chrome, Firefox).
- Right-click an image and inspect it (via Developer Tools) to verify it is served as
.webp. - Use tools like Google PageSpeed Insights or GTmetrix to check if images are optimized. For additional tips on improving load times and SEO, our Ultimate Guide to Optimizing WordPress Images offers comprehensive strategies.
Advanced Tips for Leveraging Next-Gen Images
Use a CDN with WebP Support
Content Delivery Networks such as Cloudflare, KeyCDN, or BunnyCDN support automatic WebP conversion and delivery. Using a CDN can offload image processing from your server and deliver optimized images closer to visitors, reducing latency.
Lazy Load WebP Images
Combine WebP integration with lazy loading to defer offscreen images. WordPress 5.5+ includes native lazy loading by default, but plugins like a3 Lazy Load can enhance this experience, especially for complex sites.
Automate Image Optimization on Upload
Plugins like Imagify and ShortPixel automatically optimize images on upload, converting to WebP and compressing simultaneously. This automation saves time and ensures consistent performance.
Consider AVIF — The Next Frontier
While WebP is widely supported, AVIF has emerged as a promising format with even better compression and quality. Some plugins, like ShortPixel, offer AVIF conversion alongside WebP. Keep an eye on browser adoption to future-proof your image strategy.
Handling Fallbacks and Compatibility
Despite improved browser support, some visitors may use browsers that don’t support WebP or next-gen formats. Ensuring proper fallback to JPEG or PNG is crucial.
- Plugin Fallbacks: Most WebP plugins automatically serve the original image if WebP isn’t supported.
- Manual Fallbacks: If you serve images manually (e.g., in custom themes), use the “ HTML element to specify different sources for browsers that support WebP and those that don’t.
Example:
<img src="image.jpg" alt="Description">
Monitoring and Maintaining Your Image Optimization Strategy
Regularly Audit Your Site
Tools like Google PageSpeed Insights and Lighthouse provide ongoing reports on image optimization and page speed. Regular audits help identify images that need re-optimization or new images added without WebP support.
Keep Plugins Updated
Image optimization technologies evolve rapidly. Keep your plugins up to date to ensure compatibility with the latest WordPress versions and server environments. For ongoing WordPress performance and SEO improvements, visit our Blog regularly.
Optimize Image Dimensions
WebP reduces file size, but serving images at proper dimensions optimized for your layout is equally important. Use responsive images (srcset) and WordPress’s built-in image size settings to avoid unnecessarily large images.
Conclusion
Integrating WebP and next-gen image formats into your WordPress site is a powerful way to enhance performance, improve SEO, and deliver a better user experience. While it may seem technical, the abundant plugin options and clear server configurations make the process accessible for beginners, small business owners, and developers alike.
By following this step-by-step guide, you can confidently convert, serve, and maintain optimized images that keep your site competitive in today’s digital landscape. Embracing modern image formats not only future-proofs your website but also demonstrates a commitment to speed and quality that your visitors—and search engines—will appreciate. For more insights on boosting your WordPress SEO and site performance, explore our detailed post on Enhancing SEO on WordPress.