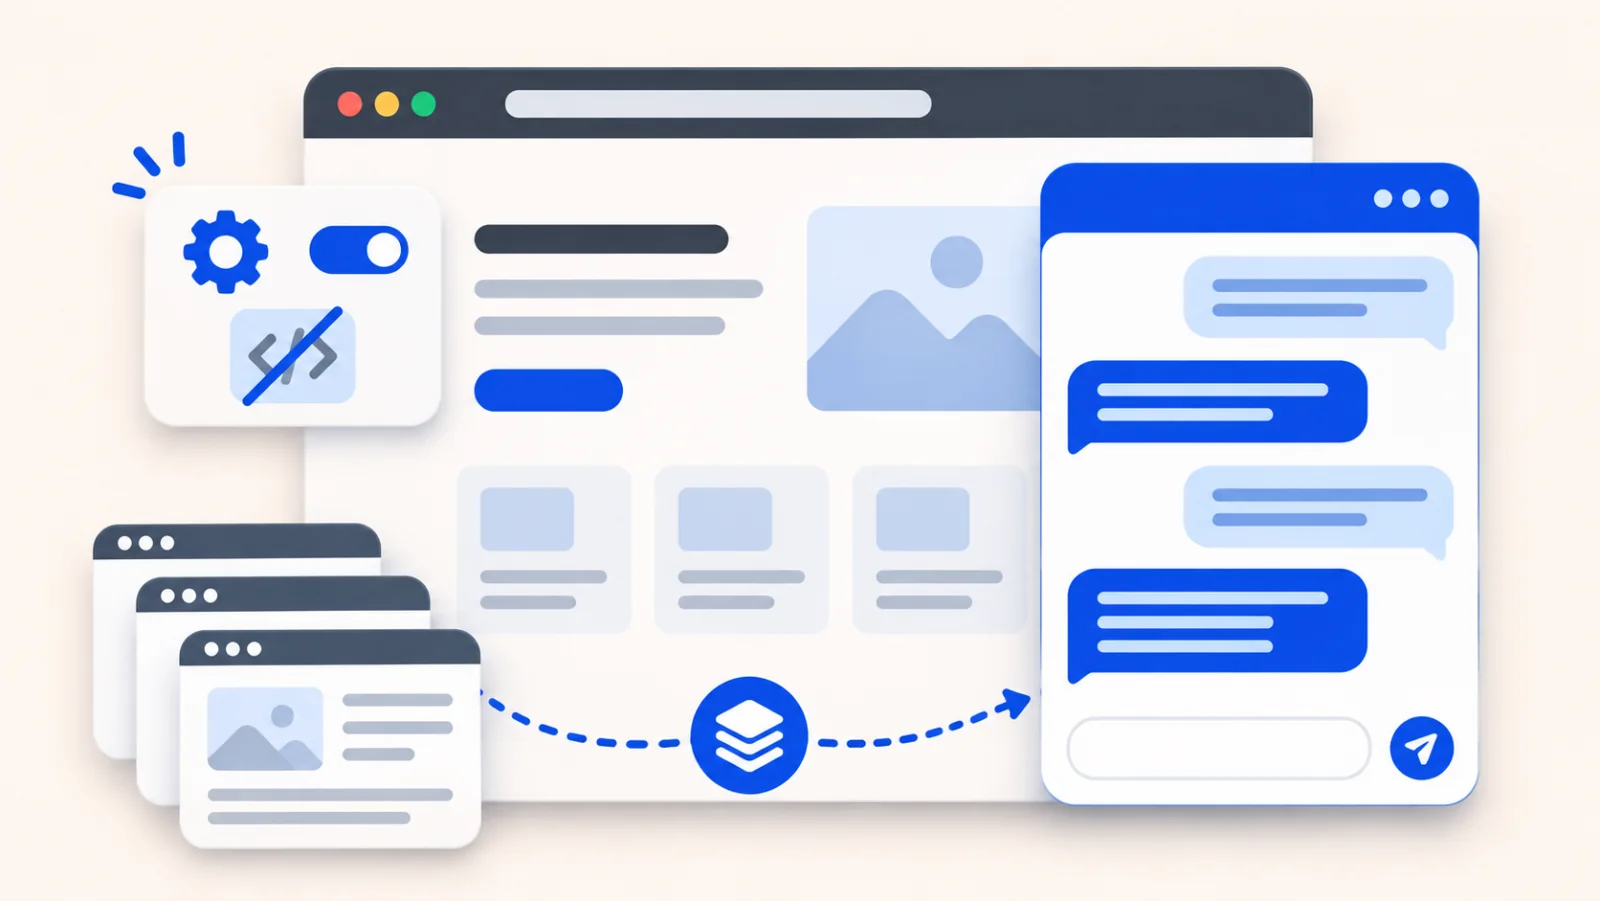
You can add a chatbot to WordPress by installing a plugin, connecting an AI account, choosing the content it should use, and testing its answers. With WPiko AI Chatbot, you can do this from your WordPress dashboard without editing your theme or writing code.
This guide walks through a first setup using the free plugin. You will finish with a chatbot that can answer questions from selected business pages, plus a short checklist for checking it before visitors use it.
Cost before you start: WPiko’s free plugin has no license fee. It uses your own OpenAI API account, where usage and any applicable knowledge storage or tool charges are accounted for separately. The total depends on your model, content and visitor activity. A free plugin does not mean unlimited free AI replies.
What you need before adding a chatbot
- A WordPress site where you can install plugins. WPiko requires WordPress 6.0 or later and PHP 7.0 or later.
- An OpenAI Platform account, an API key, and available API credit.
- A few published pages with useful business information, such as services, pricing, delivery, returns or FAQs.
Start with one job: for example, helping visitors understand your services and find your contact details. A small set of clear, current pages gives you a manageable first setup. You can add documents and expand the chatbot later.
1. Install the free WPiko AI Chatbot plugin
In your WordPress dashboard, go to Plugins → Add New and search for WPiko AI Chatbot. Click Install Now, then Activate. You can also download the ZIP from the official WordPress.org listing and install it through Upload Plugin.
The Setup Wizard opens after activation. If you leave before finishing, return through WPiko AI Chatbot → Setup Wizard. Once setup is complete, you can reopen it using Run setup again on the Dashboard.
2. Connect your OpenAI account
- Sign in to OpenAI Platform and check that your API organization has available credit.
- Create an API key in your OpenAI dashboard. OpenAI’s API quickstart explains where to begin.
- Paste the key into the wizard’s OpenAI API key field and click Save and test.
- Continue when the connection test succeeds. If it fails, follow the diagnostic message and test again.
A ChatGPT Plus subscription does not provide this API usage. Eligible ChatGPT Pro and Business subscribers may be able to claim API credits after linking an API organization. Check OpenAI’s current API credit guidance. Otherwise, add paid API credit. Use a key from the organization that holds your credit.
The wizard sends a small test request to confirm the account can answer. Keep the key in the plugin’s connection settings. Do not paste it into a public page or share it in screenshots. For connection problems, use our API Key Configuration guide.
3. Teach the chatbot about your business
In the second wizard step, give the chatbot a name, describe your business in one clear line, and choose a tone. For a service business, that description might be “garden maintenance and landscaping in Bristol.” Use your own business details.
Under Quick learn from your pages, select up to 10 published Pages. Choose the pages that answer the questions you want the chatbot to handle. Quick learn uses their readable text. It does not learn business facts from decorative images.
- Services or products overview: what you offer and who it is for.
- Pricing or quotes: published prices, what is included, or how to request an estimate.
- FAQs and policies: delivery areas, returns, appointment changes or other common questions.
- Contact: how visitors can reach your team when a question needs a person.
Click Save and continue and let the wizard finish adding your selected content. Quick learn covers Pages, rather than blog posts or product records. Pro adds scanning for posts and documentation, plus a separate WooCommerce product sync. See Quick Learn from Your Pages for the limits and refresh controls.
If the information lives in a PDF, price list or manual, you can add it after setup in AI & Training → AI Settings → Model & Knowledge → File Management. Use documents intended to support visitor answers.
4. Test answers before you finish setup
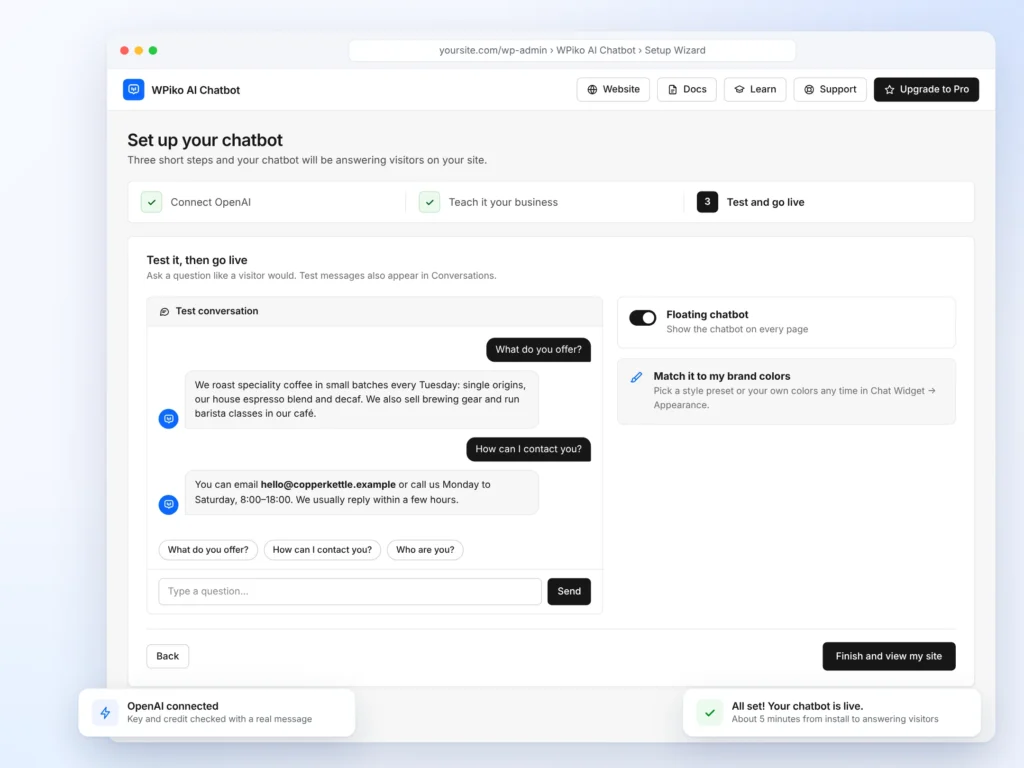
Use the test chat in the final wizard step. Ask real questions in a visitor’s words, then compare each answer with the source page. These are sample checks to adapt to your business:
- “What services do you offer?” — does the answer describe your actual services?
- “How much does it cost?” — does it use published prices or explain how to request a quote?
- “How can I contact you?” — are the contact details correct?
- Ask about an exception your pages do not cover — does it acknowledge the gap and suggest contacting your team?
If an answer is wrong, first check whether the source page contains the correct information. Clarify it, refresh the learned content, and ask again. A chatbot can still make mistakes even when it uses your pages, so repeat important questions in different words. Wizard test chats also appear in Conversations.
5. Show the chatbot on your WordPress site
Leave Show the chatbot on every page enabled in the final wizard step, then click Finish and view my site. This adds the floating chat button. Open your site as a logged-out visitor and check that you can send a message and receive an answer.
For placement controls, go to Chat Widget → Placement → Floating Chatbot. Choose a corner, check device visibility, and exclude pages where needed. Test on a phone as well as a desktop, especially around cookie notices and other floating buttons.
To put the chatbot inside a dedicated support or FAQ page, add a WordPress Shortcode block containing [wpiko_chatbot]. Use it once on that page. WPiko automatically hides the floating chatbot on pages containing the shortcode. The shortcode guide covers sizing and placement.
6. Match your brand and check usage limits
Open Chat Widget → Appearance → Style to choose a preset and adjust colors, name, avatar and interface text. Make the greeting clear that visitors are speaking with an AI assistant, and give them an obvious way to contact your team.
Then review Advanced → User Limits. WPiko provides per-IP message limits and a site-wide daily message limit. Start with the defaults and adjust after observing actual use. A message limit counts requests rather than money, so also review usage and charges in your OpenAI account. The visitor information guide and Data Handling documentation explain what to consider when preparing your site’s privacy information.
Keep the chatbot’s knowledge current
When prices, policies or contact details change, update the source page and refresh what the chatbot knows. Quick learn flags learned pages that have changed. Use Update what my chatbot knows to refresh them. Retest the affected questions afterward.
Read the first visitor conversations to find unclear answers and missing information. Our guide to measuring AI chatbot performance in WordPress explains how to turn those reviews into a regular improvement routine.
Common setup questions
Why is the chat button missing?
Check that the floating chatbot is enabled and that the current page and device are not excluded. Until an API key is saved, the chatbot is visible only to site administrators. If settings appear out of date, clear your site and browser caches, then test as a logged-out visitor.
Why does the chatbot show an error instead of answering?
Check the Dashboard and run the OpenAI connection test. A missing credit balance or an invalid key can stop replies. Follow the specific diagnostic message. Avoid repeatedly changing unrelated settings. The connection troubleshooting guide provides further checks.
Can I add a chatbot to WordPress for free?
You can install WPiko’s free plugin and use its wizard, Quick learn, file uploads, floating widget and shortcode without buying Pro. OpenAI API usage still needs available credit, and charges depend on what you use.
Do I need Pro for this tutorial?
No. The setup in this guide uses the free plugin. Pro adds tools such as broader website scanning, live chat takeover, WooCommerce product and order assistance, lead capture and detailed analytics. Compare the current options on the Free and Pro pricing page when you need those features.
Ready to set up your first chatbot? Install WPiko AI Chatbot from WordPress.org, choose a few useful pages, and test the questions your visitors ask most.